|
<< Click to Display Table of Contents >> Documents |
  
|
|
<< Click to Display Table of Contents >> Documents |
|
All case documents added in other functions of the case will be available to “View”” from this location. Other documents can be added from this fuction as and when required. Attachments can be jpeg, wav, PDF, png, doc, xls or similar formats.
Click on the “Documents” button.
![]()
Figure 261 - Documents button
The documents are displayed in the grid, with the option to View or Delete.
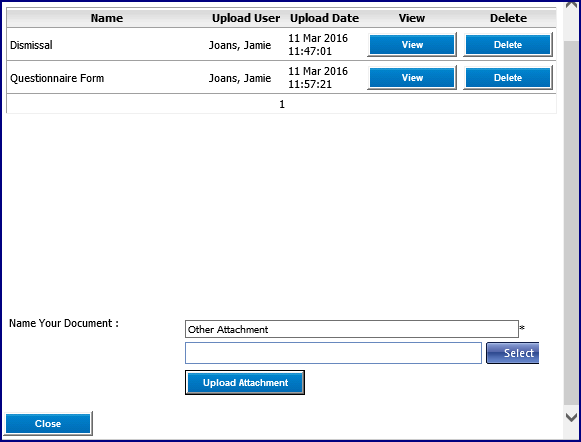
Figure 262 - Documents
To add a new Document, enter the Document Name and click on “Select”.

Figure 263 - Upload Attachment
Choose file to upload. Select the location of the file and then select the file. Click “Open” to select.
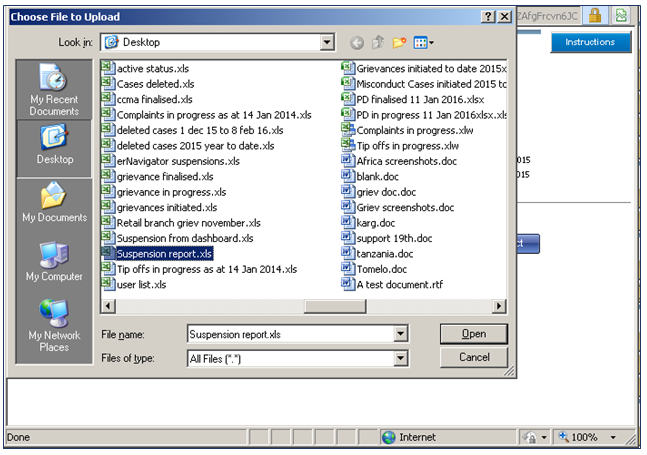
Figure 264 - Selecting document to upload
Document name is selected.
Click the “Upload Attachment” button.
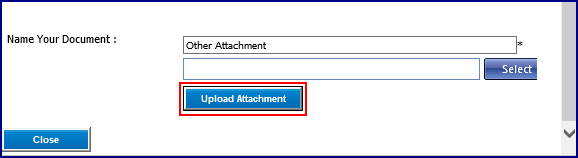
Figure 265 - Upload Attachment button
The uploaded document will display in the grid.
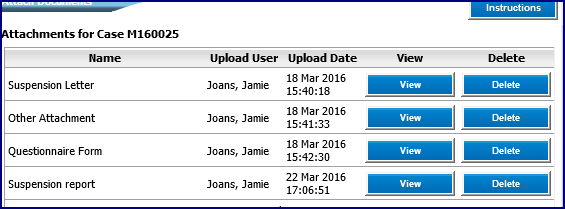
Figure 266 - Attachments grid
To delete a document, click on the “Delete” button on the right of that document. Important to note documents added can ony be deleted at the stage when they were added.
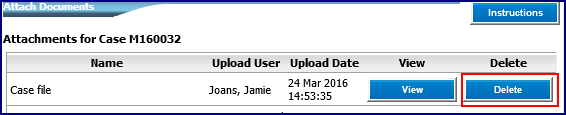
Figure 267 - Delete button
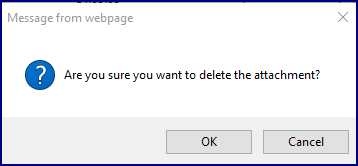
Confirm the deletion by clicking on “OK”
A user may be required to attach specific documents at specific stages in a Case. In order to manage these documentation requirements and ensure they are added at the correct time, the system will automatically present the user with a document checklist. The user must tick against each document required to attest that the document has been attached.
Once done the user will click “Save Document Checklist”.
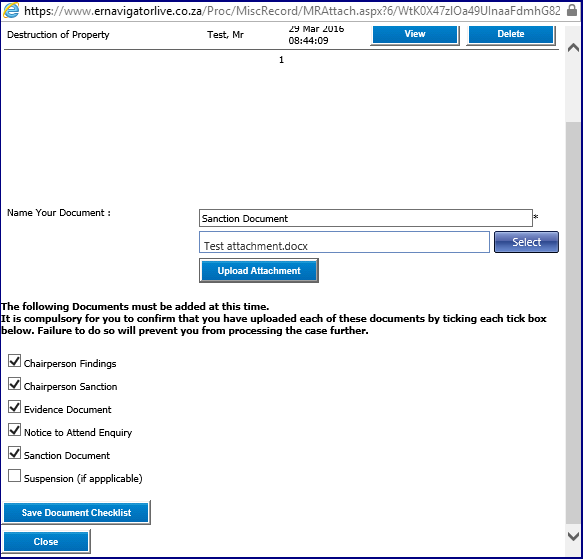
Figure 268 - Save Document Checklist button
Click “close” to complete the function.